Starlink Dish Setup and Alignment Guide for the Outer Banks
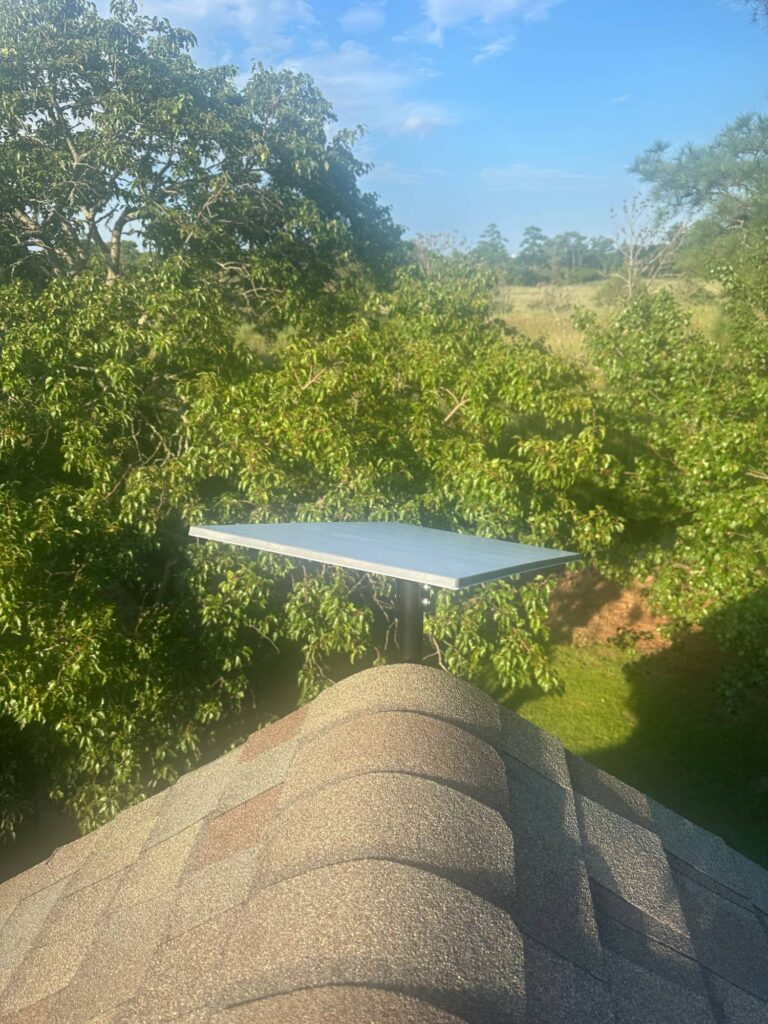
A Starlink dish that is set up well on the Outer Banks disappears into the background — it just works, through tourist season and nor’easter season alike. One that is set up poorly drops your video calls every afternoon. The difference almost always comes down to three things: sky view, mount choice, and cable routing. Here is how we approach each one.
Step 1: Find Clear Sky (the Obstruction Check)
The dish needs a wide, unobstructed view of the sky — mostly toward the north. Before mounting anything, use the Starlink app’s obstruction scanner from the exact spot you are considering. On the OBX the usual culprits are:
- Live oaks and loblolly pines on soundside lots in Duck, Southern Shores, and Manteo
- Neighboring tall houses in dense oceanside developments
- Roof lines and chimneys when the dish is mounted too low
A few percent of obstruction sounds harmless, but it translates into brief dropouts every few minutes — exactly what kills a Zoom call. Aim for a fully clear scan, not an almost-clear one.
Step 2: Choose the Right Mount for a Coastal Home
The ground tripod in the kit is for testing, not for a place where 60 mph gusts are a normal winter event. On the Outer Banks we typically use:
- Roof ridge or gable mounts — best sky view; must be flashed and sealed properly on shake or shingle roofs
- Heavy-duty pole mounts — ideal on lots with open yard space; set in concrete, they ride out storms better than anything attached to the structure
- Wall or fascia mounts — good on tall homes where the dish can clear the roof line on the north side
Every fastener, bracket, and clamp should be stainless or hot-dip galvanized. Regular zinc hardware starts weeping rust within a single season in salt air.
Step 3: Route the Cable Like Water Is Trying to Get In
Because it is. The Starlink cable run should slope away from penetrations, use a drip loop before every entry point, and pass through a sealed wall gland rather than a window gap or door sweep. On piling homes, we route cable inside a chase or conduit — UV exposure and wind flap will destroy a zip-tied run in a couple of years.
Step 4: Placement Indoors Matters Too
The router should live centrally, not in a utility closet at floor level. In classic OBX reverse floor plan homes, putting the router on the top living level and adding one or two mesh nodes below covers the whole house. We cover whole-home WiFi options in our installation guide.
Step 5: Verify Before You Call It Done
- Run the obstruction scan for at least 12 hours (a full satellite pattern)
- Speed test at different times of day — evening congestion tells the truth
- Check the app’s outage log after the first windy day
When to Do It Yourself and When to Call Us
Single-story home, open yard, comfortable on a ladder? The DIY route is very doable. Three-story oceanfront on pilings, cedar shake roof, or a rental property you manage from out of state? That is where a professional install pays for itself — our pricing is laid out in the complete pricing guide.
Ready to Get Satellite Internet on the Outer Banks?
Professional installation from Carova to Ocracoke. Call for a free quote.